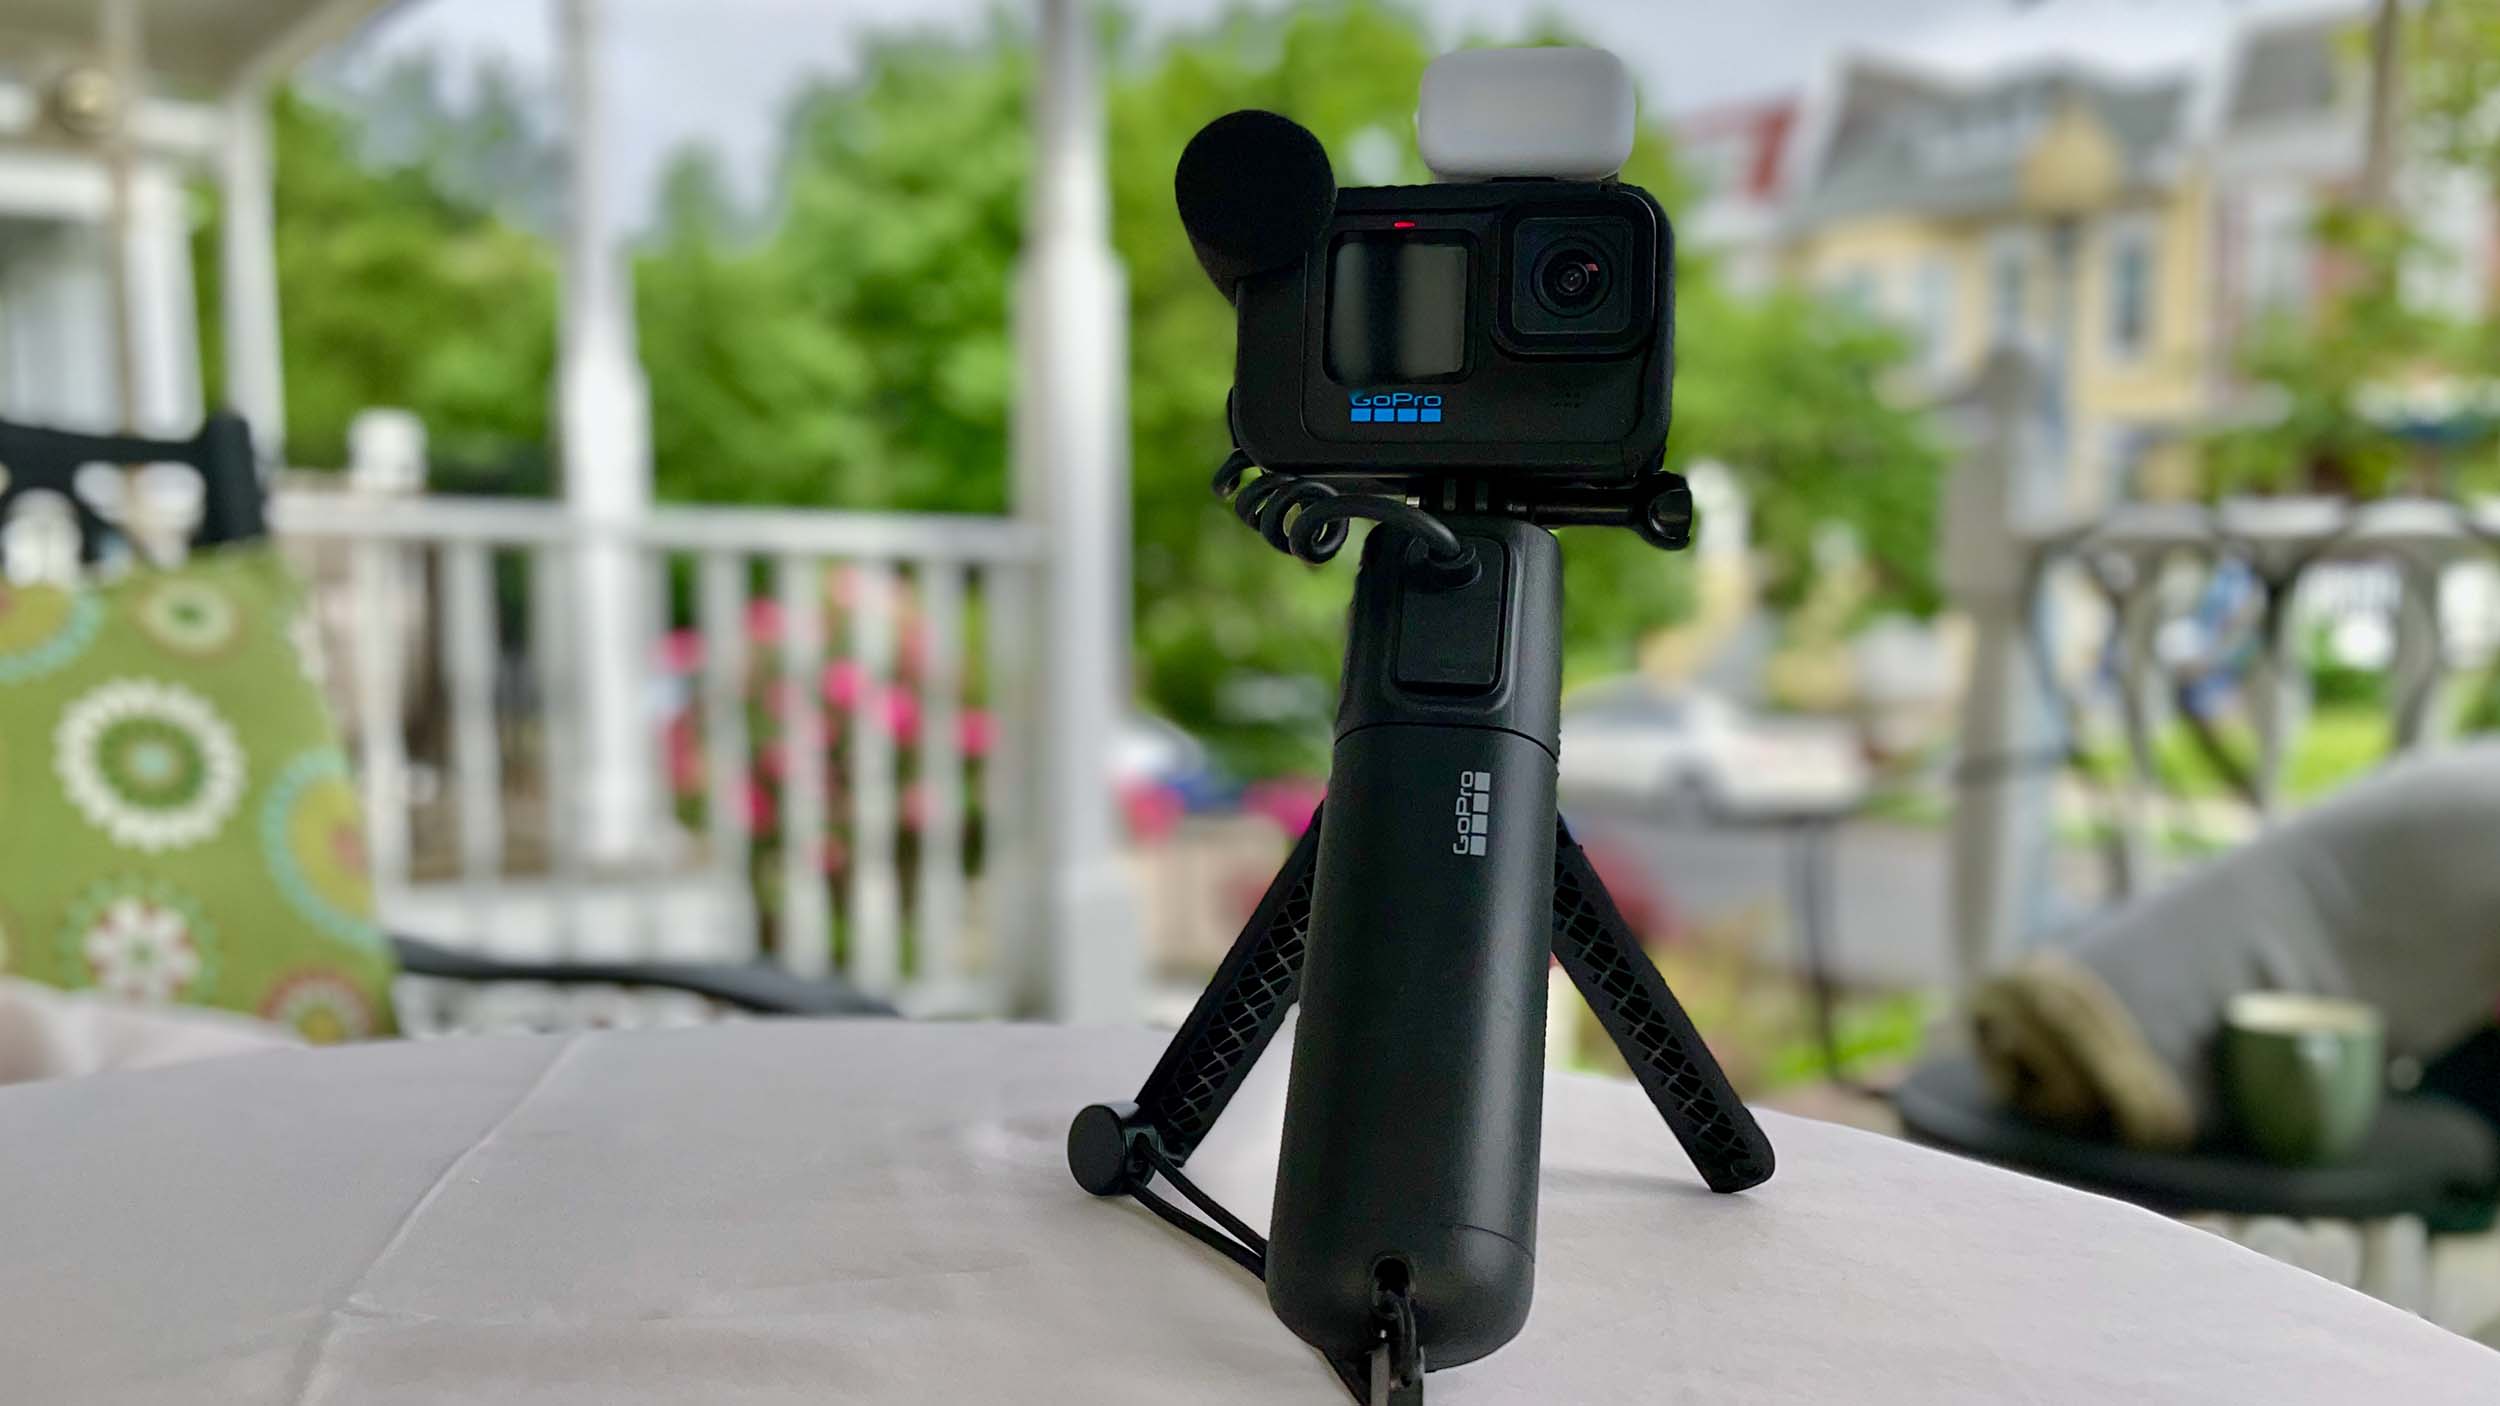
An action camera is a compact, durable and versatile camera designed for capturing high-quality video and photos during outdoor activities such as surfing, skiing, and other extreme sports. However, these cameras can also be used for vlogging, offering unique perspectives and high-quality video. Here are the steps on how to use an action camera for vlogging.
Step 1: Choose the right camera
When selecting an action camera for vlogging, there are several important factors to consider, such as image and video quality, field of view, stability, and audio quality. Some popular action camera brands include GoPro, DJI, and YI. Make sure to research and compare the features and specifications of different models to find the one that best suits your needs.
Here are some of the best action cameras that are under $100:
- Akaso V50 Pro: The Akaso V50 Pro is a budget-friendly option that offers excellent video quality and features, including 4K/30fps video recording, 20MP photos, built-in WiFi, and a touch screen display.
- Campark ACT74: The Campark ACT74 is a great choice for those looking for a low-cost action camera with advanced features, such as 4K video recording, EIS, and a waterproof case.
- Crosstour CT9000: The Crosstour CT9000 offers 4K video recording, built-in WiFi, and a 2-inch screen, making it a great option for those looking for an affordable camera with good video quality.
- APEMAN A100: The APEMAN A100 offers 4K video recording and a 20MP camera, making it a great option for those who want to capture high-quality photos and videos without breaking the bank.
- Dragon Touch Vision 3 Pro: The Dragon Touch Vision 3 Pro is an excellent budget-friendly option that offers 4K video recording and a touch screen display, as well as built-in WiFi and a waterproof case.
It’s important to keep in mind that while these cameras are affordable, they may have limitations compared to more expensive cameras in terms of video quality, features, and durability. However, for the price, these cameras are a great way to start vlogging and capturing your adventures without breaking the bank.
Step 2: Mount the camera
One of the biggest advantages of using an action camera for vlogging is its ability to be mounted in various ways, such as on a helmet, chest harness, tripod, or selfie stick. Experiment with different mounting options to find the most suitable and stable setup for your vlogging needs.
Step 3: Set up the camera settings
Before starting to vlog, make sure to adjust the camera settings to match the conditions and type of video you want to capture. This may include adjusting the resolution, frame rate, exposure, and white balance. You may also want to turn on features such as image stabilization or time-lapse to enhance your videos.
Step 4: Record and edit your video
When vlogging, make sure to hold the camera steady and speak clearly and directly to the camera. You can also add additional audio using an external microphone to improve the sound quality. After filming, transfer the footage to your computer and use editing software such as iMovie or Adobe Premiere to edit and enhance your videos.
Step 5: Share your vlog
Once you have completed editing your vlog, it’s time to share it with the world. You can upload it to your YouTube channel or social media platforms such as Instagram and Facebook. Be sure to include a descriptive title, tags, and captions to help others discover your vlogs.
Step 6: Use accessories for better vlogging
In addition to choosing the right camera and setting up the camera settings, using the right accessories can enhance your vlogging experience. Here are some accessories you might consider:
- Selfie Stick: A selfie stick is a handy tool for vloggers as it allows you to capture a wider field of view and more interesting angles.
- External Microphone: The built-in microphone on action cameras can often be of poor quality, so using an external microphone can greatly improve the audio quality of your vlogs.
- Tripod: A tripod can help stabilize your camera while vlogging, especially if you’re filming in a windy or shaky environment.
- Lighting Equipment: Good lighting can make a big difference in the quality of your vlogs. Consider using a portable LED light or reflector to enhance your lighting.
Step 7: Plan and organize your vlog content
Vlogging can be a lot of fun, but it can also be challenging to come up with new and interesting ideas for content. To help you stay organized and focused, consider creating a plan for your vlog content. This may include brainstorming ideas, setting goals for each vlog, and creating a calendar to schedule your vlogs.
Step 8: Practice, practice, practice!
Like with any new skill, vlogging takes time and practice to master. Don’t get discouraged if your first few vlogs don’t come out perfectly, as it takes time to find your style and voice. Keep practicing, experimenting with different camera settings, and trying new vlogging techniques until you find what works best for you.
Step 9: Experiment with different angles and perspectives
One of the benefits of using an action camera for vlogging is its versatility and ability to be mounted in various ways. Experiment with different angles and perspectives to make your vlogs more interesting and visually appealing. Try filming from different heights, such as low to the ground or high above your head, and capture shots from different angles, such as first-person, overhead, or behind-the-scenes.
Step 10: Invest in editing software
While editing software can be an added expense, it can greatly enhance the overall quality of your vlogs. There are many options available, ranging from free editing software such as iMovie or Windows Movie Maker to more advanced and feature-rich options such as Adobe Premiere or Final Cut Pro. Consider investing in editing software that best fits your needs and budget.
Step 11: Engage with your audience
Vlogging is not just about capturing video content, it’s also about connecting with your audience. Encourage your viewers to leave comments, ask questions, and engage with your vlogs by responding to comments and creating content that meets their interests and needs.
Step 12: Keep learning and improving
The vlogging world is constantly evolving, and it’s important to stay up-to-date with the latest trends, techniques, and technologies. Attend workshops, watch tutorials, and read articles to continually improve your vlogging skills.
Step 13: Consider monetizing your vlogs
Once you’ve built a following and established yourself as a reputable vlogger, you may want to consider monetizing your vlogs. There are various ways to do this, such as through sponsored content, advertisements, merchandise sales, and more. However, it’s important to keep in mind that monetizing your vlogs may also impact the content and style of your vlogs, so it’s important to find a balance that works for you and your audience.
Step 14: Collaborate with other vloggers
Collaborating with other vloggers can help you reach a wider audience, learn new skills and techniques, and create new and exciting content for your viewers. Consider finding vloggers in your niche or with a similar style and approach to vlogging, and reach out to them about potential collaboration opportunities.
Step 15: Stay consistent with your content
Consistency is key in vlogging. Regularly posting new and engaging content will help keep your audience interested and coming back for more. Try to establish a posting schedule and stick to it as much as possible. Your viewers will appreciate the consistency and reliability of your vlogs.
Conclusion
In conclusion, using an action camera for vlogging can be a fun and rewarding experience. By following these steps, you can create high-quality vlogs that showcase your unique perspectives and experiences. So why not give it a try and start your vlogging journey today!


