


Here are a few steps that can help anyone who needs help plaster wall repairers in Townsville. There is a certain technique to it, and if these steps can follow through correctly, a hole in a plaster wall can patch successfully.
Plaster Wall Repairers in Townsville Tips
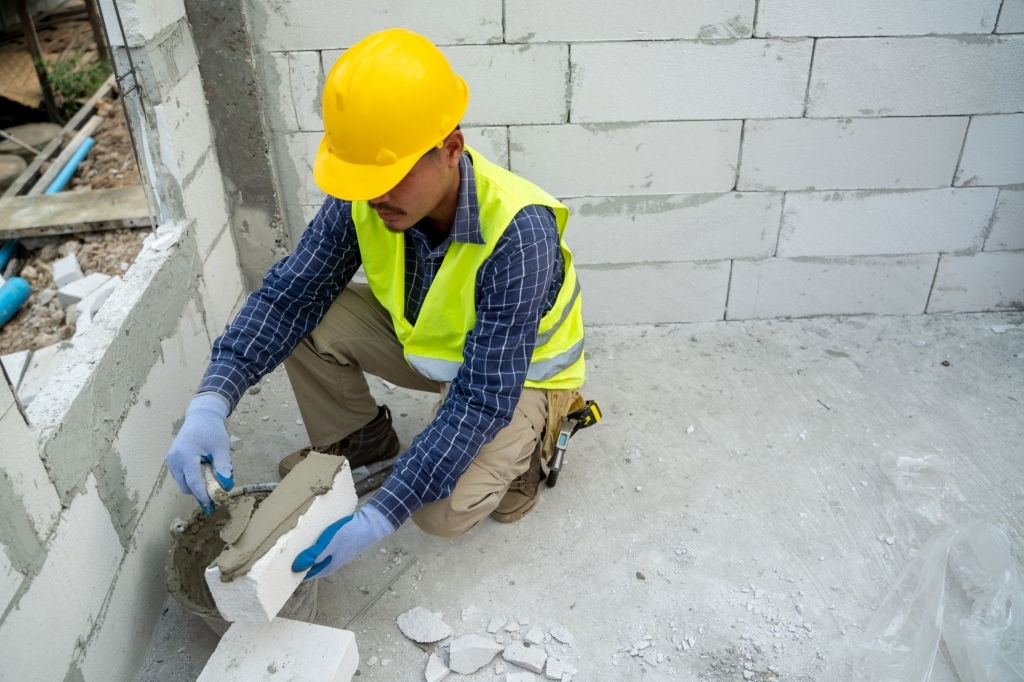
· PreparationPlaster Wall Repairers in Townsville
With a putty knife, chip any loose or crumbling plaster from the whole’s edges until only solid plaster remains. Caution if you find seriously damaged lath underneath, the lath must repair before plastering repair generally calls for the skills of a professional.
Undercutting all holes in plaster and all cracks wider than 1/8 inch or so must undercut a procedure in which some of the old but intact plaster can remove along the inner side of the hole (or crack). So the patching material that can use as the filler will bond securely to the solid plaster around the opening.
To undercut use the tip of a beverage can opener or putty knife and scrape away a bit of the plaster under the rim of the hole. Then bevel the scraped area to make a V-shaped hollowed under the surface. So, vacuum or blow out the plaster dust from the undercut area.
· Applying the First Layer
Combination enough patching plaster to fill the hole practically completely! Sprinkle the back and boundaries of the hole with a scraper. At the undercut sides at the edges of the hole, spread on the patching plaster is about ¼ inch below the surface of the untouched plaster around the hole.
At the same time, the plaster wall repairers in Townsville are still wet score its surface with the slope of the taping knife. This scored surface will provide a firm grip for a second layer of patching plaster. Let the first layer set for about a half-hour.
· Applying the Next Layer
Combination of a fresh batch of patching plaster! Reduce the scored layer of patching plaster and 2 or 3 inches of the undamaged surface and around the hole. Thus, use a taping knife preferably wider than the hole, fill the hole with plaster to the level of the undamaged area, spreading the surface onto the surrounding surface for an inch or so. So, flat this layer by drawing the knife blade evenly over the repaired area. Let the plaster set!
· Finishing the patch
Cover the filled hole with a flat layer of wallboard joint cement or spackling complex using a taping knife. Continue spreading the reinforce or spackling to an inch or so beyond the edges of the patching surface. Let the patch area dry. When dry, it will feel hard and have misplaced its clammy feel of wet plaster.
Soil the dry area smooth with a scraping block and feather the edges of the compound into the surrounding surface. If you first do not succeed, keep trying. Thus, trying is the first step to becoming great plaster wall repairers in Townsville.
· Preparing Walls for Plaster
Installing rock lath, the base to which wall plaster can apply is not a difficult job and requires only a few tools. If you can swing a hammer or cut wire with tin snips or read a carpenter’s level, you can do your lathing. So, for speed and convenience, invest in a lathing hatchet. If you prefer to use your hammer, you’ll have to score and cut the lath with a knife, which takes longer.
First, calculate the square yardage on all surfaces to cover and order lath accordingly. Buy metal corner stripping by the linear foot for openings and corners. Ten pounds of lathing nails will need for every 100 square yards of rock lath.
The next step is to set up baseboard grounds – 3/4″ wood strips which allow for some foundation settling and prevent plaster cracks. Nail these along all walls to plaster. Then proceed as outlined in the photographs. Thus, remember to keep all lathing work neat and the corners square. The final job will be just as good – or bad – as this essential base job.
How to Plaster a Wall
There’s an art to making a good plaster wall, and the use of suitable tools is essential. These include a plasterer’s trowel, a corner-shaping instrument, a hawk, a Darby, a screwing rod, a heavy brush and a container.
To order the resources you will need, figure the square feet of the area to cover. The undercoat is a mixture of sand, prepared gypsum plaster and water. Plaster wall repairers in Townsville will need – for every 10 square feet of undercoat – 90 pounds of plasterer’s sand, cleaned and screened, and 30 pounds of gypsum plaster.
Tools
· Trowel
This has a stretched brace bar on the top side compared to the shorter bar on a mason’s steel float. It costs several dollars more and is value the price.
· Hawk
This is the standard mortarboard device. Use one prepared aluminium and save wear and tear by hand. So, the wooden type weighs a good deal more. Weight with Plasterers in Townsville QLD and hold in the left hand through the right does the work.
· Darby
A two-handled flattening tool to level large flat zones! Thus, it can hold flat against the fence as it is moved along and levels out elevated spots.
· Screeding Rod
Straight-edged firewood or metal stick to level off smooth plaster applications! One end can usually hold compared to guides as the upper end scrapes additional plaster rear onto panel aimed at reapplication.
· Water Brush
This and a container of pure water must keep on hand for finish plaster covering. The brush spreads as well as splashes water over the surface being troweled plane.
To mix, use either a barrow or shallow wood box and mix the sand and plaster, dry, in one end. Thus, then draw the varied sand and plaster into the water a little at a time, socializing constantly.
Repair of Plaster Walls
Earlier or later, almost every plaster wall and ceiling progress crack. If not in the broader expanses, at that time, at least where flat surfaces join one additional! Wind pressure on the house, structural increase and shrinkage, traffic vibration, and household goings-on all contribute toward weakened plaster. Before any renovation can take place, the inevitable repairing must always do.
Instruction of Plaster Walls
Mounting rock lath, the base to which wall plaster is applied, is not a challenging task as well as needs just a few tools. If you can swing a hammer or cut cable with tin snips or review a carpenter’s degree, you can do your own lathing. For speed and also benefit, purchase a lathing hatchet. If you prefer to utilize your own hammer, you’ll need to rack up as well as cut the lath with a blade, which takes longer.
Initially calculate the square yardage on all surface areas to be covered and order lath as necessary. Acquire steel corner stripping by the linear foot for openings as well as edges. 10 pounds of lathing nails will be required for each and every 100 square lawns of rock lath.
The next action is to set up baseboard grounds – 3/4″ timber strips which permit some structure settling and also avoid plaster cracks. Toenail these along all wall surfaces to be plastered. Then proceed as laid out in the photographs. Bear in mind to keep all lathing work cool and also the edges square. The last task will be just as excellent – or negative – as this important base task.