4 Ways to Make Your Birthday Cake in Dubai the Best Ever
How to Make a Birthday Cake in Dubai the Best Ever with 8 Inventions
Dubai is a city that never sleeps. It has been dubbed the “city of lights” and it is also one of the fastest-growing cities in the world. The people here are constantly looking for new ways to celebrate special occasions and birthdays are no exception.
In Dubai, you can find a wide variety of birthday cakes for sale in any corner store or market. However, if you want to make your cake this way, you will need to bring some ingredients from home – like eggs and flour. This article will show you how to make a birthday cake in Dubai with 8 inventions that will save you time and money on your next birthday cake adventure!
A lot of people want to make their birthday cakes because they love baking or they think it’s cheaper than buying one from a store. However, if you’re not familiar with how to bake, it can be difficult to create the perfect cake without trial-and-error errors that lead to disappointment at best or a few wasted cakes at worst. This infographic will show you how to make a birthday cake in Dubai with 8 inventions that will save you time and money on your next birthday cake adventure!
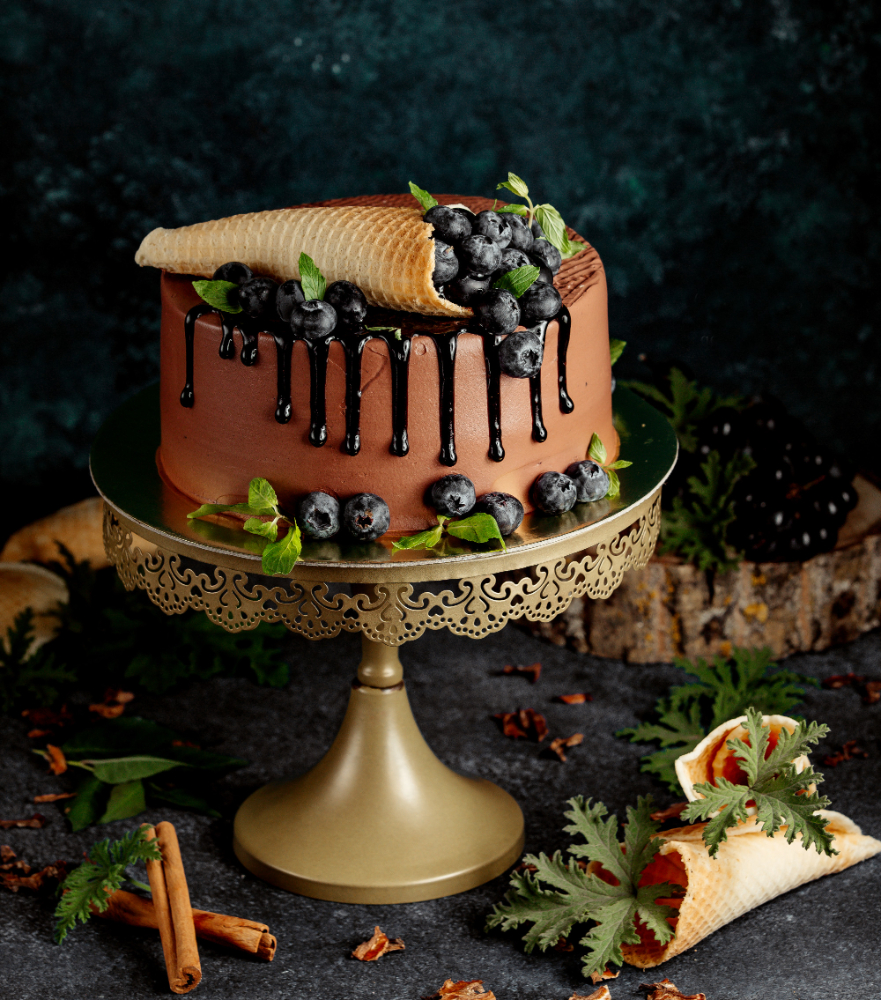
1. Homemade Recipe for Homemade Birthday Cake Mix
What could be better than a homemade cake for a birthday celebration? Not only is the taste better, but the preparation is easier and faster.
What are some of the benefits of using homemade cake mix?
– It’s cheaper than store-bought mixes
– healthier than store-bought mixes because it’s made with whole ingredients or whole grains
– customizable to what you want to make
– It can be made with just a few tools and ingredients that are some of the steps involved?
– Prepare the cake mix by crushing up cake mix, sugar, and eggs in a mixing bowl. (If you want to use whole wheat flour instead, that is fine too)
– Mix in room temperature butter or cooking spray (this will create air bubbles on the surface of the cake so it rises better).
– Pour into a greased pan or an oven-safe pan. Bake at 350 degrees for about 25 minutes.
– In a separate bowl, mix the softened butter, vanilla extract, and flour. Mix until smooth.- Add in the sugar and eggs. Stir to combine.
– Add the milk one tablespoon at a time. Stir to combine after each addition of milk.
– Add in the lemon zest and juice. Stir to incorporate last.
– Pour batter into prepared pan (or just pour it onto your grease-free parchment paper)and bake for another 15 minutes or until cake tests are done when you insert a toothpick in the center of it.
Let cool in pan for 10 minutes, then transfer to a wire rack to cool completely. I hope you love it!
2. How to Create your Custom-Designed and Printed Birthday Cake Labels
When you are planning to create your birthday cake labels, you will need to consider a few things. First, what type of design do you want and how many do you need? Second, how will the labels be printed? Third, what materials will be used for the labels?
The most important thing is to decide if you want a custom-designed label or a printed label. The design process is different for each type of label as well.
Custom-designed labels are generally more expensive than printed labels and require a lot of time for production, but they can be fun to create. On the other hand, printed labels can cost less and save you time when you are in a crunch to get them made.
3. Making Your Own Canned Tasty Treats from Scratch with an Easy Tin Canning Blueprint Recipe
Tin cans are a great place to store food, but they have a major drawback: the lid. Tin lids can be difficult to open for those who struggle with arthritis or other physical limitations.
If you’re looking for an easy way to make your own delicious canned tasty treats from scratch, try this easy tin canning blueprint recipe! This blueprint is designed so that you can easily follow it step-by-step and create the perfect canned tasty treats for you and your family.
This blueprint will show you how to use a simple tin canning lid as the container of choice, and will also provide all the necessary information on how to make sure your canned tasty treats are safe and delicious!
Here are Some Steps
1. Measure and Cut the Tin Can Lid to Size 1. Measure your canning lid by its circumference. It should be around 9 to 10 inches in diameter.
2. Use tin snips or your hands to cut the lid out of the tin can, making sure not to damage the side of the tin close to where you’re cutting it out with your snips or hands.
3. If desired, coat the top (the part that’s left over) of your tin can lid with a layer of oil so that it doesn’t rust when exposed to water (if you have a spray bottle, use that to coat the top of the lid).
4. Place the lid on top of your can, and put the wire over the edge of the tin can lid.
5. Secure that wire with a clothespin to hold it in place
6. Cut 2 holes in two pieces of cardboard and put each piece on either side of your can with the long end facing each other (Make sure they’re not touching)
7. Put the wire through the holes in each piece of cardboard
8. Connect the two pieces of cardboard to make a box
9. Tape or glue the hole on one side closed so it doesn’t leak
10. Inside your box, place pipe cleaners inside with a couple of inches sticking out
11. Cut up some masking tape into small pieces and put it all around your can (Don’t put too much)
12. Fill your can with canned air.
4. How to Make a Fondant-Free Chocolate Frosting Recipe on the Stovetop!
Fondant frosting can be a tricky thing to make. It requires careful measurements and precise timing. However, with this fondant-free frosting recipe, you can make this delicious and easy dessert without any problems.
To make this recipe, you will need:
– 1/3 cup granulated sugar
– 2/3 cup water
– 1/2 teaspoon salt
– 3 tablespoons cocoa powder
– 1 tablespoon cornstarch
– 3 tablespoons milk
– 1/2 teaspoon vanilla extract In a pot, whisk together the granulated sugar, water, and salt.
Turn to high heat until the mixture boils. Boil for about 3-4 minutes or until it reaches 238 degrees. While that is boiling, in a small bowl mix together the cocoa powder with the cornstarch and milk until there are no lumps in the mixture. Add this to your boiling solution along with the vanilla extract and stir well until you have your ganache sauce. Shut off your burner and put on some stirring attachment if you want to keep stirring while it cools down. (there is no need if you don’t mind a few lumps).
While you wait for your ganache to cool, put on a double boiler. Fill the bottom pan with 1/2″ of water and place the top pan over it. The heat from the boiling water will create steam inside your saucepan, giving it a light brown color. (I don’t recommend doing this if you are trying to make something dairy-free)Stir in 1 tbsp of butter and 1 tsp of cocoa powder. If you want your ganache to be dark brown instead of light brown, then use 2 tsp cocoa powder.
Add a pinch of salt and let it cook for 2 minutes. Remove the top pan and let the ganache cool slightly. If you want to make chocolate cups, use a small, clean piping bag (no need to seal the opening) and put 1 tbsp of ganache into each bag. Pipe a small amount on top of each cupcake to put a little dot in the center. Dip your finger in water and gently dab it on top of each dot before taking your finger away. Hold up one side of parchment paper so that you can easily remove the finished cupcakes from it once they are cooled.


